Everything in the world of Zero Trust comes down to a few basic ideas. The first and probably most important is Identity. Network and Application access in Clouds has long been primarily controlled strictly based on WHERE a given connection is coming from not WHO is initiating it.
I won’t detail the creation of an M365 Tenant here, but for detail sake here’s what I have. It’s just a Trial Licensed M365 Business Standard tenant. It comes with everything we need to get the ball rolling. I’ve activated a custom domain name inside it already. I’ve also installed and connected the Entra ID Sync tool from my on prem AD Controller and am syncing user accounts.
SAML
Zscaler’s preferred method for user authentication uses Security Assertion Markup Language (SAML). Though ZIA allows other authentication methods, ZPA only supports SAML. Zscaler supports any SAML 2.0+ (POST Binding) compliant Identity Provider (IdP).
There are many IdPs, however the ones Zscaler sees most often are Azure AD, ADFS, and Okta. This post will focus on integrating authentication with Azure and what it takes to setup Azure as your IdP inside Zscaler.
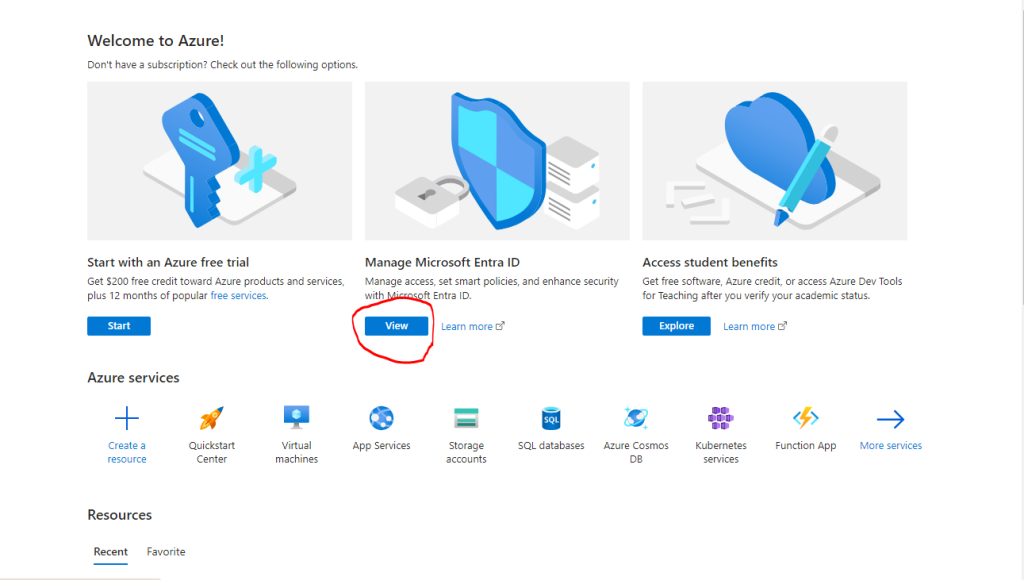
In your Azure Tenant, view the Entra ID Overview page, then begin the process of adding your custom domain name. Microsoft Instructions here.

Once your custom domain is active and if you are syncing AD resources to Azure , make sure the users and groups are all populated in Entra ID.

Now the fun part begins, building the actual SAML connections to your Zscaler Tenant.
Back on the Entra ID Overview page select the Enterprise Applications option.

Then select + New Application 
At the search box for the Catalog of applications, enter “zscaler”, then select the correct Zscaler Cloud for your Instance. Click the “Create” button to add it. For Zscaler Internet Access on zscalertwo.net select Zscaler Two.

After the Zscaler application is created, select the “Single Sign-On” option. Then click the SAML box.


On the Basic SAML Configuration click Edit.

This is where things get a bit more specific. On the Basic SAML Config page, you’ll need to copy down a few bits of information as you’ll be copying and pasting information between Azure and your Zscaler Tenant. It’s a good idea to have a Secure Notepad document that can hold some of this information.
First update the Reply URL (Assertion Consumer Service URL) it’s conveniently listed where it says “Patterns”.

Copy the Patterns URL, then select “Add reply URL” and paste it there. As well as in the Sign on URL area below. Click “Save” at the top, then click the X to close the window. When prompted to Test single sign-on, click “No, I’ll test later”.

Scroll down to the SAML Certificates section. Click the Download link for the Certificate (Base64) and save that in your Secure Storage with your other setup information.

IMPORTANT NOTE: Zscaler only supports certificates that end with the .pem extension. So we’ll need to modify the Base64 certificate from Azure before we can use it in the Zscaler Admin portal. Simply enough, just change the file extension to .pem from .cer
Back on the SAML page, scroll down again, and copy the Login URL, save it in your Notepad for later.
![]()
That’s the Azure side for enabling SAML for Zscaler, next post I will walk through the Zscaler side, which is detailed here in the very useful Zscaler Help site.